Importing Categories and Resources
Categories and Resources can be copied between MindGenius versions.
Background:
When you upgrade to a new version of MindGenius it’s installed alongside any that already exist on your computer. We do it that way so you don’t lose access to previous versions you’ve paid for – unlike some license agreements, ours doesn’t revoke your right to use previous versions when you upgrade – and we leave the decision whether to uninstall previous versions up to you.
There is a down-side to this approach though, which is that categories and resources you might have customised in your previous version won’t appear in the new install. This article explains how you can transfer them over quickly and easily.
The Process:
Here’s the process step-by-step (Assuming transfer from V6 to MG2018):
- Close MindGenius
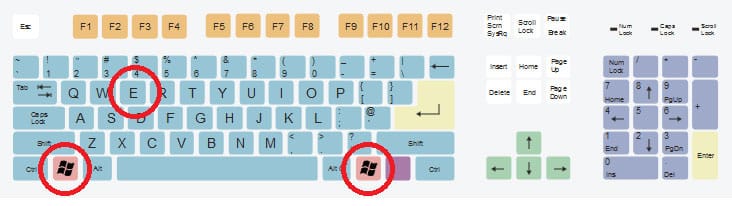
- Open Windows Explorer by pressing “Windows Key” + “E”
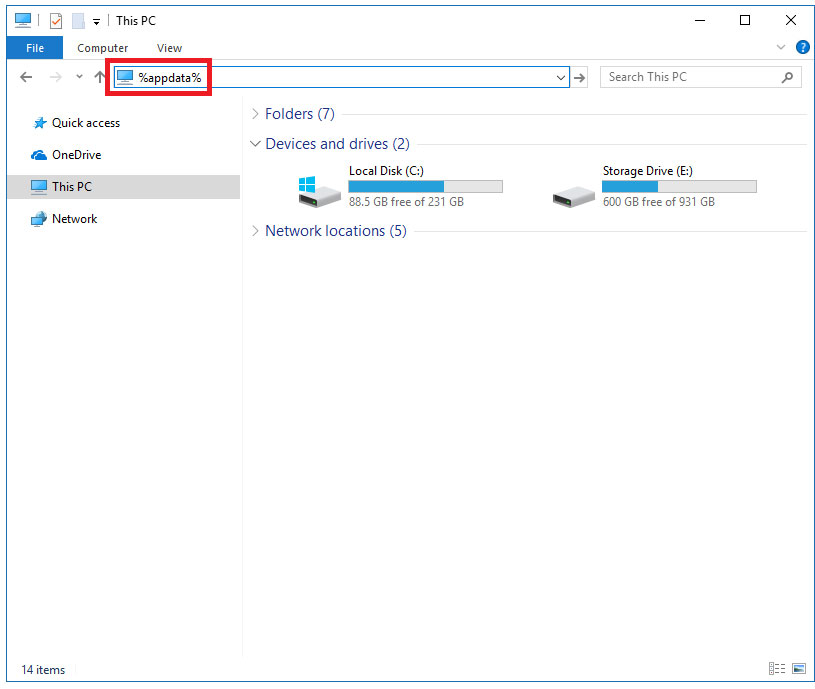
- Click inside the address bar, enter %appdata% and press “Enter”
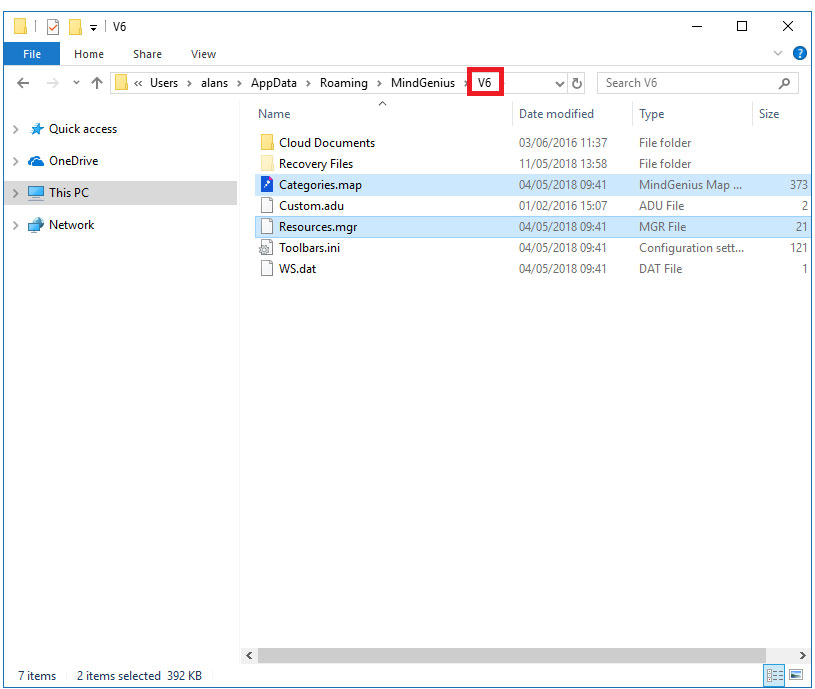
- Navigate to “MindGenius\V6”
- Select the files “Categories.map” and “Resources.mgr”, then copy them by pressing “Ctrl” + “C”
- Navigate to MindGenius\V7
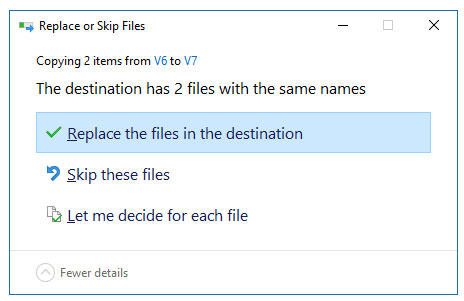
- Paste both files, overwriting those that already exist
- Restart MindGenius
After restarting MindGenius your imported resources and categories will be available for use immediately.
Type %appdata% in the Address Bar
Navigate to the Old Folder (eg. V6) and Copy Categories and Resources
Navigate to MindGenius\V7
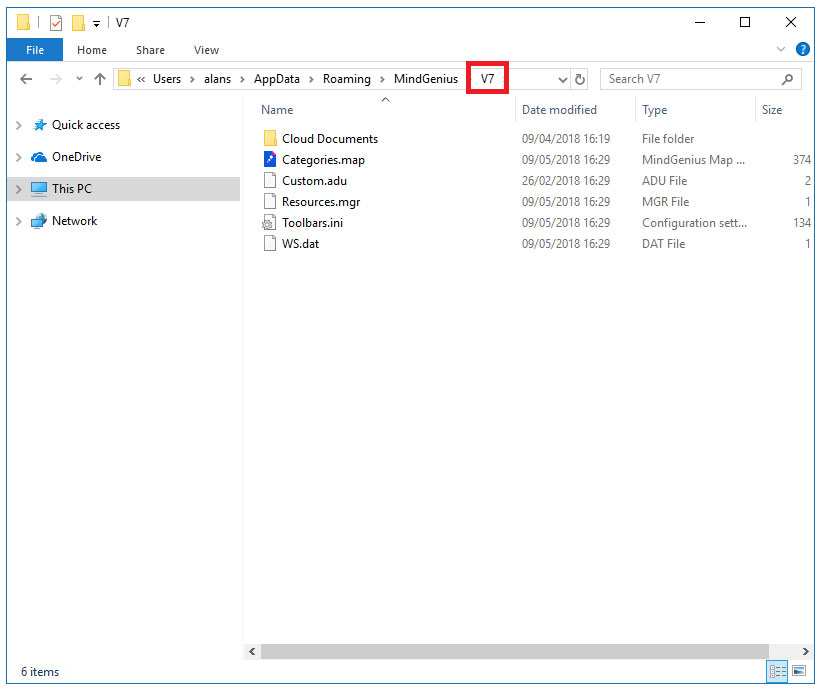
Paste Both Files, Overwriting The Existing Ones
Need More Information?
If you’d like to find out more about using MindGenius Online within your team, check out our blog post or enquire about a team trial by booking a demo with a member of our team below.